3D Worm Controller Tutorial til Unity
I denne tutorial vil jeg vise, hvordan man laver en simpel ormecontroller i Unity, inspireret af TornadoTwins tutorialserien for begynderspiludvikling.
Ormekontrolleren vil glide rundt med en jævn halefølgende effekt og har evnen til at hoppe.
Scripts i denne tutorial blev oprindeligt skrevet i JavaScript (alias UnityScript), som ikke længere understøttes, så jeg vil give et C# alternativ.
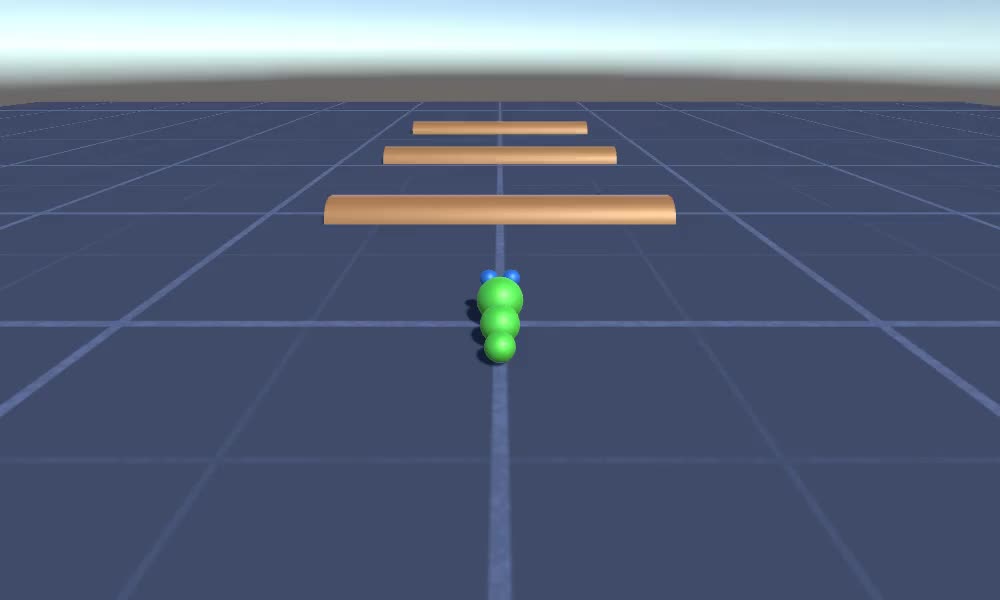
For at oprette en ormecontroller i Unity skal vi bruge:
- Opret de nødvendige scripts
- Skab en ormekarakter
- Tildel scripts til karakteren
Trin 1: Opret alle de nødvendige scripts
Lad os starte med at oprette alle de scripts, der er nødvendige for at konfigurere en ormecontroller:
- Opret et nyt script, kald det "SC_WormController" og indsæt koden nedenfor i det:
SC_WormController.cs
using System.Collections;
using System.Collections.Generic;
using UnityEngine;

[RequireComponent(typeof(CharacterController))]
public class SC_WormController : MonoBehaviour
{
    public float speed = 3.0f;
    public float rotateSpeed = 1.0f;
    public float jumpSpeed = 5.0f;
    public float gravity = 9.8f;

    CharacterController controller;
    Vector3 moveDirection;

    // Start is called before the first frame update
    void Start()
    {
        controller = GetComponent<CharacterController>();
    }

    // Update is called once per frame
    void Update()
    {
        // Rotate around y - axis
        transform.Rotate(0, Input.GetAxis("Horizontal") * rotateSpeed, 0);

        // Move forward / backward
        Vector3 forward = transform.TransformDirection(Vector3.forward);
        float curSpeed = speed * Input.GetAxis("Vertical");
        float movementDirectionY = moveDirection.y;
        moveDirection = forward * curSpeed;

        // Jumping
        if (Input.GetButtonDown("Jump") && controller.isGrounded)
        {
            moveDirection.y = jumpSpeed;
        }
        else
        {
            moveDirection.y = movementDirectionY;
        }

        // Apply gravity. Gravity is multiplied by deltaTime twice (once here, and once below
        // when the moveDirection is multiplied by deltaTime). This is because gravity should be applied
        // as an acceleration (ms^-2)
        if (!controller.isGrounded)
        {
            moveDirection.y -= gravity * Time.deltaTime;
        }

        // Move the controller
        controller.Move(moveDirection * Time.deltaTime);
    }
}- Opret et nyt script, kald det "SC_CameraFollow" og indsæt koden nedenfor i det:
SC_CameraFollow.cs
using System.Collections;
using System.Collections.Generic;
using UnityEngine;

public class SC_CameraFollow : MonoBehaviour
{
    /*
    This camera smoothers out rotation around the y-axis and height.
    Horizontal Distance to the target is always fixed.

    There are many different ways to smooth the rotation but doing it this way gives you a lot of control over how the camera behaves.

    For every of those smoothed values we calculate the wanted value and the current value.
    Then we smooth it using the Lerp function.
    Then we apply the smoothed values to the transform's position.
    */

    // The target we are following
    public Transform target;
    // The distance in the x-z plane to the target
    public float distance = 10.0f;
    // the height we want the camera to be above the target
    public float height = 5.0f;
    // How much we
    public float heightDamping = 2.0f;
    public float rotationDamping = 3.0f;

    void LateUpdate()
    {
        // Early out if we don't have a target
        if (!target)
            return;

        // Calculate the current rotation angles
        float wantedRotationAngle = target.eulerAngles.y;
        float wantedHeight = target.position.y + height;
        float currentRotationAngle = transform.eulerAngles.y;
        float currentHeight = transform.position.y;

        // Damp the rotation around the y-axis
        currentRotationAngle = Mathf.LerpAngle(currentRotationAngle, wantedRotationAngle, rotationDamping * Time.deltaTime);

        // Damp the height
        currentHeight = Mathf.Lerp(currentHeight, wantedHeight, heightDamping * Time.deltaTime);

        // Convert the angle into a rotation
        Quaternion currentRotation = Quaternion.Euler(0, currentRotationAngle, 0);

        // Set the position of the camera on the x-z plane to:
        // distance meters behind the target
        transform.position = target.position;
        transform.position -= currentRotation * Vector3.forward * distance;

        // Set the height of the camera
        transform.position = new Vector3(transform.position.x, currentHeight, transform.position.z);

        // Always look at the target
        transform.LookAt(target);
    }
}- Opret et nyt script, kald det "SC_SmoothFollow" og indsæt koden nedenfor i det:
SC_SmoothFollow.cs
using System.Collections;
using System.Collections.Generic;
using UnityEngine;

public class SC_SmoothFollow : MonoBehaviour
{
    // The target we are following
    public Transform target;
    // The distance in the x-z plane to the target
    public float distance = 10.0f;
    // the height we want the camera to be above the target
    public float height = 5.0f;
    // How much we
    public float heightDamping = 2.0f;
    public float rotationDamping = 3.0f;

    // Start is called before the first frame update
    void Start()
    {
        if (!target) return;

        transform.LookAt(target);
    }

    void LateUpdate()
    {
        // Early out if we don't have a target
        if (!target) return;

        // Calculate the current rotation angles
        float wantedRotationAngle = target.eulerAngles.y;
        float wantedHeight = target.position.y + height;

        float currentRotationAngle = transform.eulerAngles.y;
        float currentHeight = transform.position.y;

        // Damp the rotation around the y-axis
        currentRotationAngle = Mathf.LerpAngle(currentRotationAngle, wantedRotationAngle, rotationDamping * Time.deltaTime);

        // Damp the height
        currentHeight = Mathf.Lerp(currentHeight, wantedHeight, heightDamping * Time.deltaTime);

        // Convert the angle into a rotation
        var currentRotation = Quaternion.Euler(0, currentRotationAngle, 0);

        // Set the position of the camera on the x-z plane to:
        // distance meters behind the target
        transform.position = target.position;
        transform.position -= currentRotation * Vector3.forward * distance;

        // Set the height of the camera
        transform.position = new Vector3(transform.position.x, currentHeight, transform.position.z);

        // Always look at the target
        transform.LookAt(target);
    }
}
Trin 2: Opret en ormekarakter
Det næste trin er at skabe en ormekarakter:
- Opret en ny Sphere (GameObject -> 3D Object -> Sphere), skift dens position til (0, 0, 0), slet dens SphereCollider-komponent, og omdøb den til "Worm"
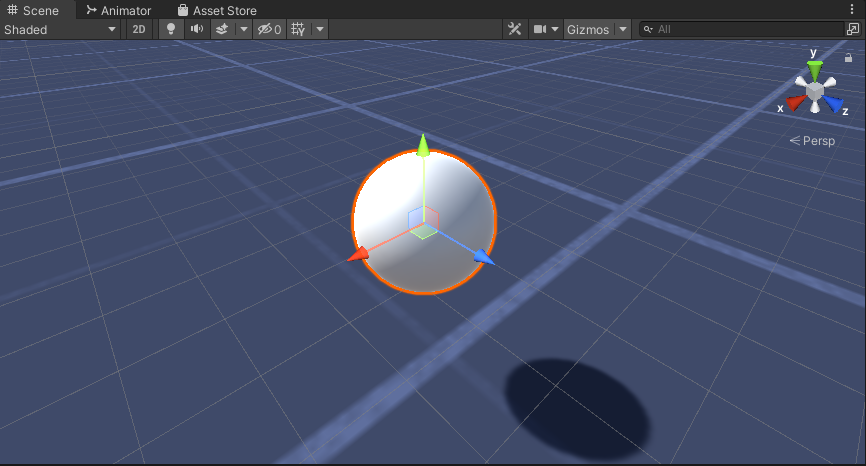
- Dupliker "Worm"-sfæren, omdøb den til "BodyPart1", skift dens position til (0, -0,1, -0,9) og skift dens skala til (0,8, 0,8, 0,8)
- Dupliker "Worm"-sfæren igen, omdøb den til "BodyPart2", skift dens position til (0, -0,2, -1,6) og skift dens skala til (0,6, 0,6, 0,6)
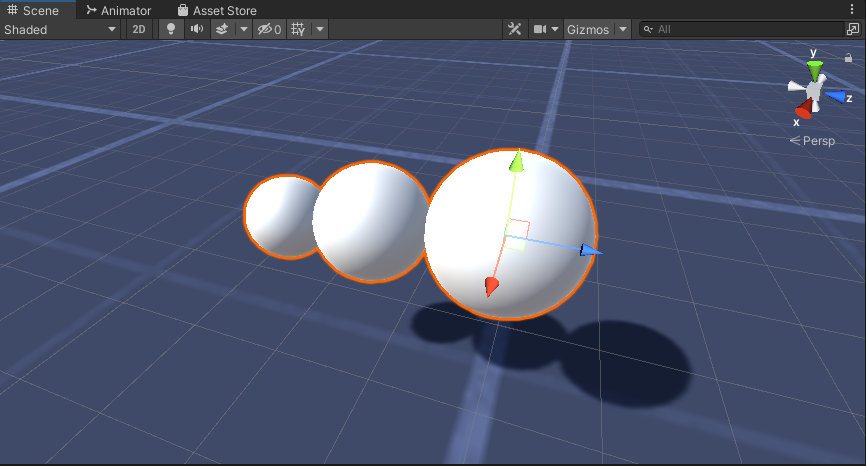
- Højreklik på "Worm" objektet -> Opret tom og omdøb det nyoprettede objekt til "Eyes"
- Dupliker "BodyPart2"-sfæren, omdøb den til "Eye" og flyt den inde i "Eyes"-objektet, skift dens position til (-0,24, 0,353, 0,324) og skift dens skala til (0,4, 0,4, 0,4)
- Dupliker "Eye"-sfæren og skift dens X-position til 0,24
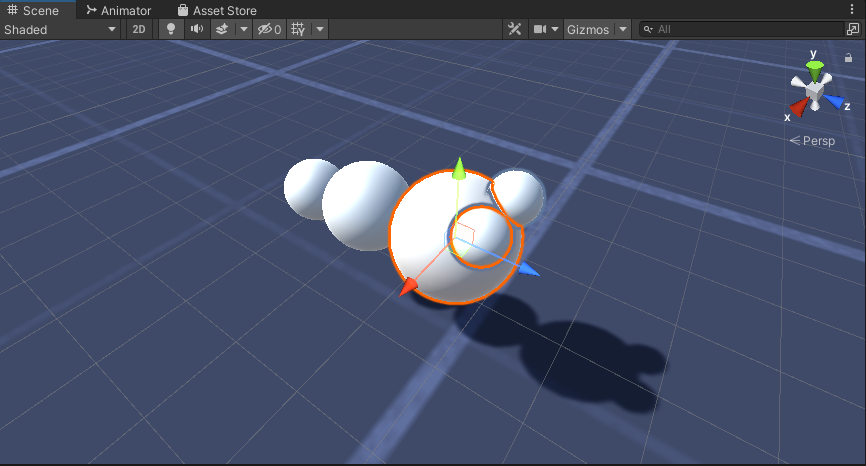
- Til visualiseringen kan du lave nogle få materialer, for eksempel grøn til kroppen og blå til øjnene.
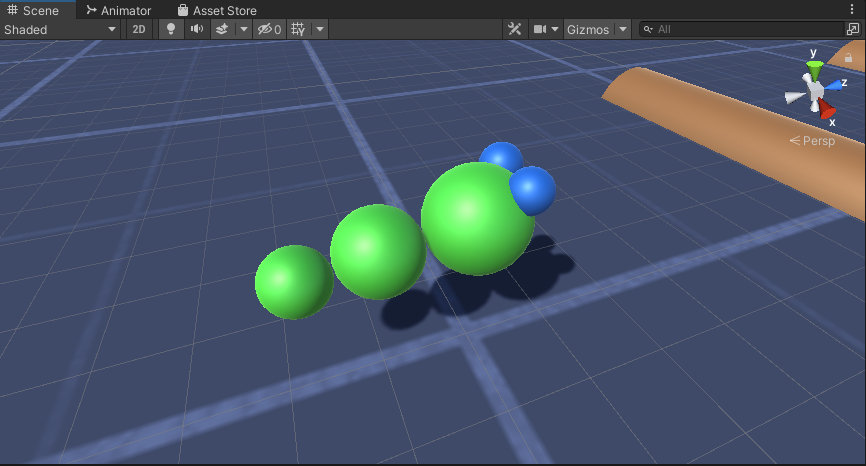
Ormekarakteren er klar.
Trin 3: Konfigurer Worm Controller
Det sidste trin er at tildele scripts:
- Vedhæft SC_CameraFollow-scriptet til Main Camera-objektet og tildel "Worm"-sfæren til målvariablen:

- Vedhæft SC_WormController-scriptet til "Worm"-sfæren (det vil automatisk tilføje en anden komponent kaldet CharacterController):
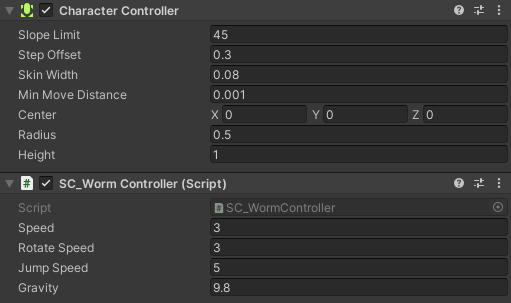
- Vedhæft SC_SmoothFollow-scriptet til "BodyPart1"-sfæren og indstil dets værdier som i skærmbilledet nedenfor:

- Vedhæft SC_SmoothFollow-scriptet til "BodyPart2"-sfæren og indstil dets værdier som i skærmbilledet nedenfor:

Controlleren er nu klar, brug W, A, S og D til at flytte rundt og Space til at hoppe.
Kilde Unity-pakken er tilgængelig nedenfor.